Showing posts with label By the numbers. Show all posts

Friday, January 23, 2015

JAI 247 Just add love blog hop


Well hello and welcome to the first Just Add Ink challenge for 2015. It's nice to be back :)

Once again we are starting off the year with a blog hop to showcase the design team's projects for the challenge. You may have arrived here from Louise Sharp's blog (wasn't her project delightful!) or you can begin the blog hop here. Just click on the blog hop button at the bottom of the post or the link in the text at the end to move on to the next DT blog (Jodene Tripp). (You'll be glad you did!)

So what are we kicking the year off with? This week the challenge, from Christine, is to Just Add Love with the added twist of using a tag sketch as part (or as) your project. Here are the details.


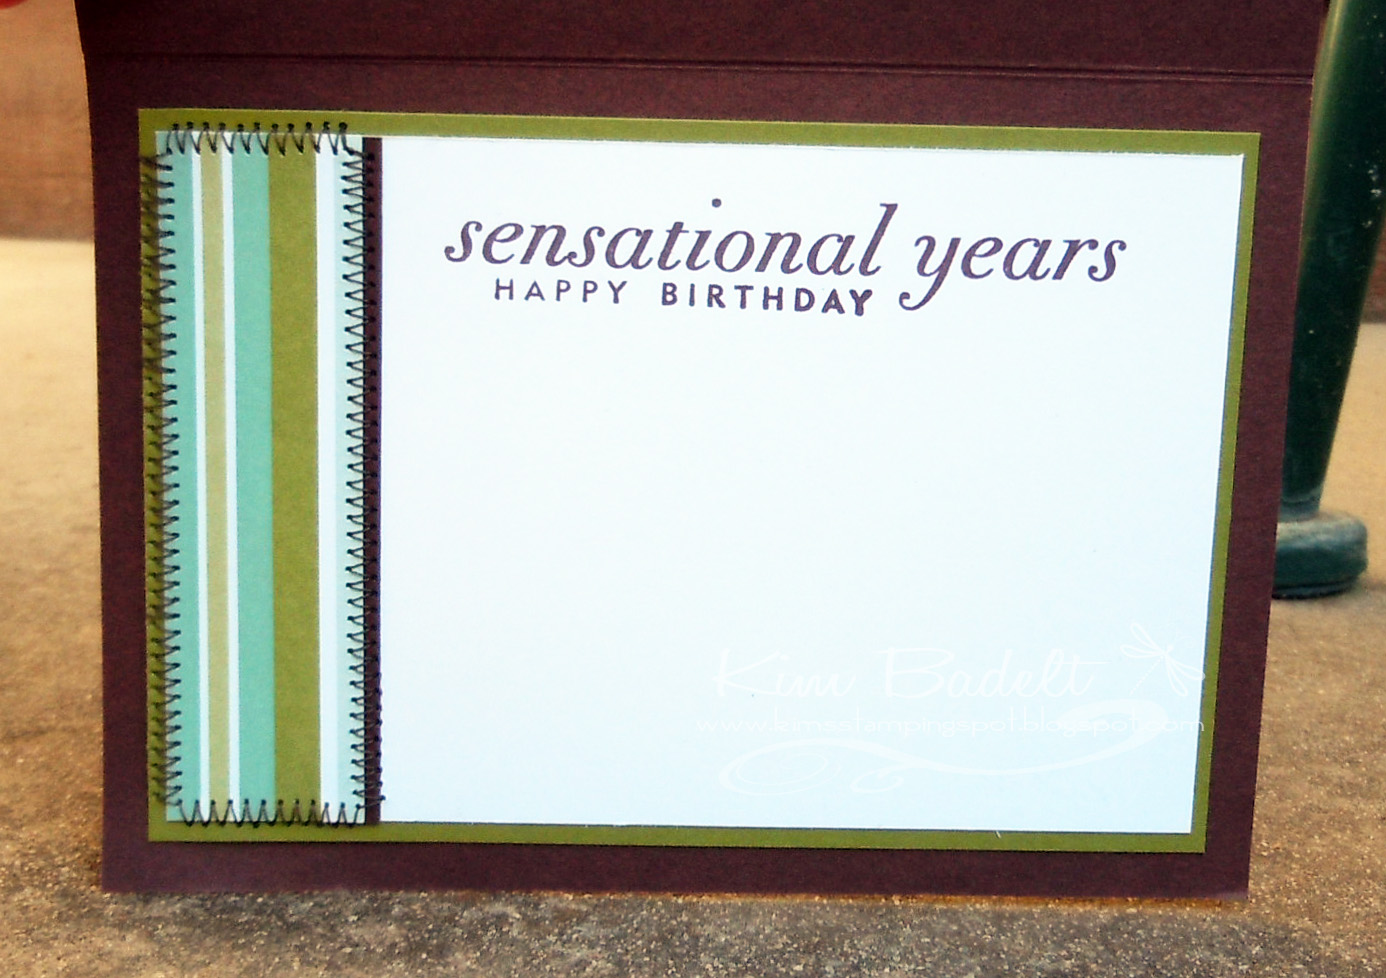
An important January project for me every year is a birthday card for my little Miss - I think you'll be able to work out what milestone birthday we are up to this year ;) The first version of this turned out like something you would make for your 80 year old granny - perfect for that but just SO not right for a 10 year old! The new version is scrappy and bright (but not shabby) and rather remarkably liked by Miss almost 10. Thank goodness for that!


One to show the shimmer and shine.


The inside


The rest of the Just Add Ink DT have a wonderful array of inspiration generating projects for you to see so please do continue on and visit the rest of the team. Your next stop on the blog hop is Jodene Tripp's blog. I know she has something just gorgeous for you to see! 

Hope you can join us for the challenge,
Thanks for visiting,
Kim

PS: Recipe below


Recipe: All SU! unless noted
Stamps: Dictionary, Kinda Eclectic, Teeny Tiny Sentiments (SU!), This Sweet Life, Sew Simple borders (Papertrey Ink)
Cardstock: Rose Red, Rich Razzleberry, Whisper White, Vellum
Ink: Strawberry Slush, Rich Razzleberry, Blackberry Bliss, Mossy Meadow, Pistachio Pudding, Smokey Slate, Rose Red, Versamark
Accessories: Bitty Banners Framelits, Scallop Edge border, Small Butterfly and Elegant Butterfly punches  (SU!), This Sweet Life dies, Basic Bookmark die 2, By the Numbers die (PaperTrey Ink), Gold Foil, Champagne shimmer paper, Gold embossing powder, All Abloom DSP stack, 2013-15 In Color DSP stack, Epic Day washi tape, Tea lace paper doily, Strawberry Slush twine, Jewels - rhinestones, 2014-15 In color sequin assortment, Tombow multi, Double sided tape (X Press), Dimensionals

Friday, August 15, 2014

JAI 227 Just Add Chipboard

Hello there,
ever since we had our Just Add a Shaker challenge a few weeks back I've had shakers in the back of my mind and when a special family birthday was coming up I figured the new Miss Four would love to have one. I did use something special in the making - chipboard. And that is what we want you to add at Just Add Ink this week - Just Add chipboard. 

(Chipboard is a thick cardboard. You find it on the back of notepads, its the backing in your DSP packets, and can buy chipboard accents and alphabets. Coaster board and even multiple layers of cardstock glued together will be just as good).


Now I did a good job of disguising my chipboard so I wanted to include a couple of photos to show you how I used it here. First die cut and embossed.
And then covered with a layer of die cut and embossed cardstock.


Bright and fun and something to use for my shaker frame were the starting points - enter Sweet Taffy DSP and On Film framelit. I cut up some crazy strips of the DSP to cover the front of the card and then proceeded to cover most of that up (rolling my eyes at my good planning) with the die cut frame. The bright continues on into the shaker - with some stamped HAPPYs and lots of bright die cut Number Fours (too many actually - I'm always tempted to add to many shakey bits!). I'm pretty the new Miss Four is going to love this and also know she is going to have to shake it really hard to get the bits to move around :O

For lots of inspiring ideas for using chipboard do check out the rest of the DT.
Thanks for visiting,
Kim

Recipe: All SU! unless otherwise noted
Stamps: Amazing Birthday
Cardstock: Daffodil Delight, Melon Mambo, Rich Razzleberry, Pumpkin Pie, Old Olive, Tempting Turquoise
Ink:  Daffodil Delight, Melon Mambo, Rich Razzleberry, Pumpkin Pie, Tempting Turquoise
Accessories: Chipboard (of course!), On Film framelit, 1 3/4" Scallop circle punch,1 3/8" and 1 1/4"  Circle punches, Sweet Taffy DSP, By the numbers border die (Papertrey Ink), Daffodil Delight satin ribbon (R), Sequins, Jewels - rhinestone, Acetate, Scotch foam tape, Dimensionals, Double sided tape (X Press)

Friday, February 14, 2014

JAI 202 Just add stripes

Hello there,
I'm breathing a sigh of relief here as I have just made it through our main birthday season. My two munchkins are only two weeks apart so this time of year is all about birthdays (with a dash of going back to school). This week's challenge at Just Add Ink was just perfect for making a card for my little Mr 6. This week we want you to Just Add Stripes. 

You might remember a few weeks ago I posted my first circle thinlet card which I made for my daughters birthday. Well I also made one for my boyo. Here it is.


Opening up
Open all the way

The invitations for his party were space themed (done using MDS - first time for me!) so continuing that theme I made him a space card. It had to be similar to his sisters but different too (to cope with the endless sibling rivalry (sigh)). So for his I used a bit of twine strung with a selection of planets, stars and a spaceship - of course! One end pops out of the circle flip side  and the other to the sentiment panel so that when you open it up they dangle across the card - a very fun effect :) Embossing the images and using glimmer paper for the stars adds that subtle (but not too girly) bit of sparkle.

TIP: I used the scallop circle die from the circle thinlet dies, cut it once from red glimmer paper, then rotated it and cut again with the same die to get a more spikey edging. You can do that with any scallop circle punch or die!

Hope you can join us and have some fun adding stripes this week. Do check out the rest of the DT for some fabulous stripey ideas!

Thanks for visiting,
Kim

Recipe: All SU! unless otherwise noted
Stamps: Blast Off
Cardstock: Pacific point, Cherry Cobler, Pumpkin Pie, Whisper White, Brushed Silver
Ink: Pumpkin Pie, Pacific Point, Versamark
Accessories: Circle card thinlet die,Bitty Banners framelit, Standard circle nestabilities (Spellbinder), By the Numbers die and Super Star borders die (PaperTrey Ink), Season of Style DSP stack, Sycamore Street DSP (R), Blast Off DSP (MDS), Merry Minis punch pack, 1/16" circle punch, Silver, Tangerine Tango and Cherry Cobler embossing powders, Island Indigo bakers twine, Brights candy dots, Double sided tape (X Press), Dimensionals

Friday, July 13, 2012

JAI 126 Just add a sketch


Hello there,
brrr - well I hope everyone enjoyed last week's Just Add Ink challenge, every morning here for the last two weeks has been white with frost so it certainly felt very appropriate to me :) Having said that the kids and I did have a fun time out at the park today and it actually wasn't too cold, and it was very nice to get out in the sunshine. So on to this week. This week at Just Add Ink we have a sketch for you - here it is.

My Dad asked me recently to make a birthday card for my Uncle, and since he was coming up to one of those milestone dates I decided to make that the feature.
Apologies for the dodgy lighting - I'm really struggling to get good light at the momment!
First I went through my stash to find some DSP that I thought would be appropriate. That helped me set the colours for the card. So off I went cutting, adhering DSP, then sewing it down. With guy cards I try to add as much texture as I can, so the stitching was definitely an important part of the design of this card, as is the textured Chocolate cardstock for the bottom central mat and numbers and the striped grosgrain ribbon. I also added some piercing detail and some hardware - well a guy card needs hardware ;) doesn't it! The inside was just finished off simply to match.

There I did promise you wouldn't get a Christmas card this week I hope you enjoyed the change :)
Thanks for visiting,
Kim
Recipe: All SU! unless otherwise noted
Stamps: A Little Birthday Cheer (R), Big Birthday Wishes (PaperTrey Inc)
Cardstock: Chocolate Chip, Old Olive, Whisper White, Early Expresso textured
Ink: Chocolate Chip
Accessories: Windsor Knot DSP (R), Dies (Mat Stack 4 layerz, Mat Stack 1, By the Numbers) (PaperTrey Ink), thin chipboard, Early Expresso 1 1/4" striped grosgrain ribbon, Silver brads, sewing machine, Dimensionals, Doubled sided tape (X Press)